DFL-WD II Installation Guides
This article will teach users of DFL-WDII hdd repair tool in details on how to install the program successfully in several simple steps.
First, you need to get our latest DFL-WDII setup program, let’s have the Version 2.3.5 set up program as example to go with the following steps:
Step 1: You can download the latest setup program here on the website or from our data recovery forum. Now we suppose you have got the setup program and the name of it is DFL_WDII_Setup_ENG_V2.3.5.rar, decompress it and you will find one executable program named DFL-WD II Setup_ENG_V2.3.5.exe like the following:
Click it and you can easily finish installing it like you install other software applications. After the installation, you will get one icon of DFL-WDII on your desktop like the following:
Please note: if you click the icon at this time, it won’t respond at all because you won’t be able to use our software separately without connecting our hardware console.
Step 2: Connect the hardware console to PC with USB cable and connect the console with the external power adapter, power on it;
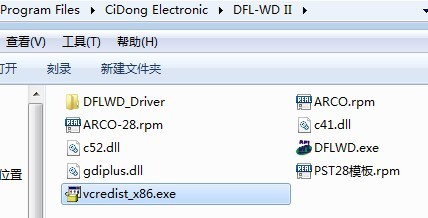
Step 3: The system will detect it as one new hardware and at this time, you need manually to install the driver which is located in your installation directory like the following image:

Step 4: Install VC++ running environment by click ‘vcredist_x86.exe‘ in the installation directory too like the following to find where it is:
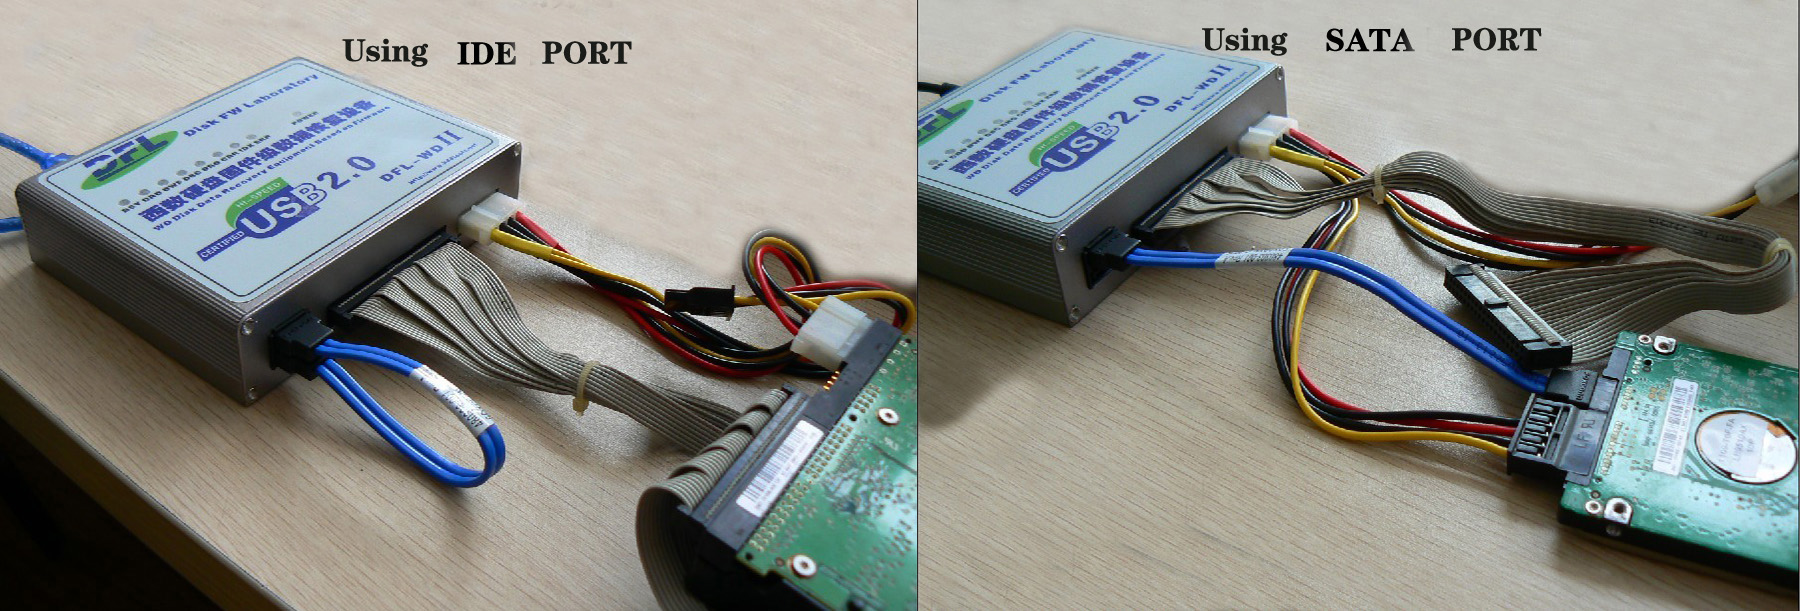
Step 5: Connect the hdd to the hardware console you want to repair or recover and click the icon on the desktop and now you can enter the software program and start to use DFL-WDII hdd repair functions.
We wish you all hdd repair success with DFL-WDII hdd repair tool.

