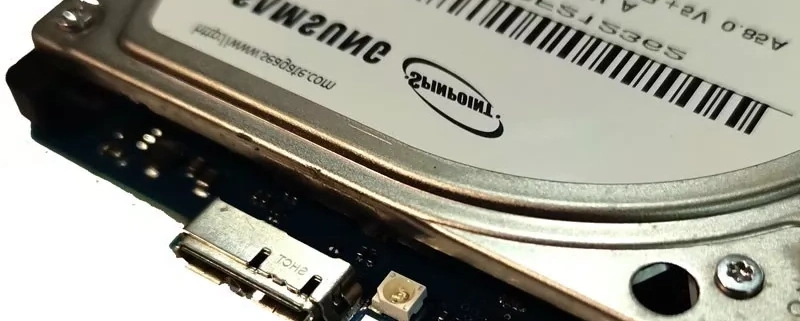
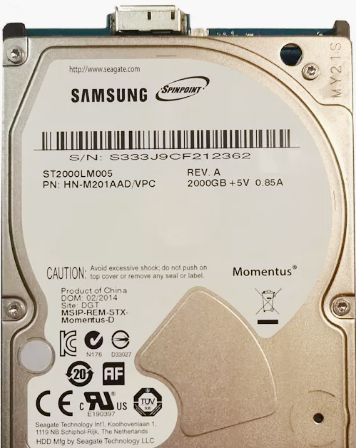
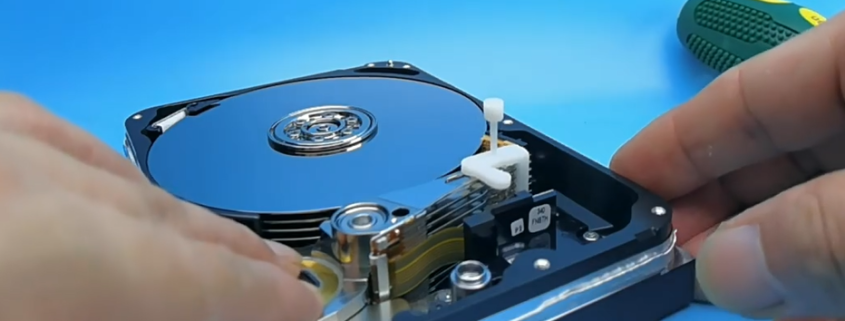
This is one detected Western Digital patient hard drive. When the user tried to scan the data area, it was full of purple sectors which meant no data was accessible.

Next the user entered the COM terminal and got the following error messages:

Vio Mode=0,Voltage=1.8v,DFL

Boot 0x40M

SpinUp
FAIL Servo Op=0100 Resp=0003
0100 0000 0000 0001 0000 0000 0000 0000 0000 0000 0000 0000 0000 0000 0000 0000 0000 0000 0000 0000 0000 0000 0000 0000 0000 0000 0000 0000 0000 0000 0000 0000
ResponseFrame 19C0 004E 04B0 3D00 0008 0000 0000 0000 0E98 0000 0000 0000 0000 0000 0000 0000 38EA 7164 AF37 D066 296A 4F98 4C5F BB86 FFFF 0000 0004 891D FFAA 007F 001D 0004 0000 Loop=007F
FAIL Servo Op=0100 Resp=0003
0100 0000 0000 0001 0000 0000 0000 0000 0000 0000 0000 0000 0000 0000 0000 0000 0000 0000 0000 0000 0000 0000 0000 0000 0000 0000 0000 0000 0000 0000 0000 0000
ResponseFrame 1DC0 004F 04B0 3D00 0008 0000 0000 0000 0E98 0000 0000 0000 0000 0000 0000 0000 38EA 7164 AF37 D066 296A 4F98 4C5F BB86 FFFF 0000 0004 891D FFAC 007F 001D 0004 0000 Loop=007F^z

The user couldn’t enter F3 T> at all.

The user was then suggested to swap heads to continue the hdd repair. After head swap, the patient drive was detected and the data area was accessible. The user set up one disk image project, set up head map and finally imaged all heads by DFL-DDP data recovery software.

Here is the video introduction to above case.

WD10JMVW-11AJGS2 is one Western Digital SED laptop hard drive. It’s very common to deal with the firmware corrupted cases of these WD SED HDDs.

For this patient WD SED HDD, the firmware area couldn’t be accessed directly, the rom couldn’t be read either. The patient HDD was detected wrongly and running slowly.

To fix the firmware issue, the engineer short connected tv9 and tv10, read rom, disable 02, slow fix, firmware restart and the patient hdd was detected properly by DFL-WD hdd repair tool.

After the firmware repair, the user opened the DFL-DDP data recovery software but the result was bad because no partitions were detected, no folders, no files.

The user viewed the source drive sector 0 and didn’t find any partition mark of 55 AA and other hex data was not normal at encrypted status. The user tried using the auto decryption function but the software asked for inputing the software and finally failed.

The user went back to DFL-WD firmware repair software, went to FW Operations>Module Editing>Edit HDD ID>Security Subsystem, ticked the SED and firmware restart, went to DFL-DDP, the lost partition, folders and files were all available for immediate data recovery.

Video instruction of How to Recover WD10JMVW Encrypted Hard Drives

Any question is welcome to [email protected] or add Dolphin skype id: dolphin.data.lab

There’re more and more SED hard drives used in the pc market and when these SED protected hard drives are damaged, users need to diagnose the failure causes, unlock the firmware area, backup firmware modules and then recover lost data.

To repair Seagate SED hard drives, users need to unlock the firmware area first. To unlock the firmware area, users need to backup rom and generate unlock rom. To generate unlock rom, users get three options:

01:  MODE 1
02: MODE 2 (AF, 91, CF)
03: MODE 3 (AF)

MODE 1 is for standard Seagate F3 SED hard drives, Mode 2 is for new generation of AF, 91 and CF families, MODE 3 is for old generation of AF family.

After generating and writing the correct unlock ROM, the DFL Seagate firmware repair software sends unlock key and unlocks the firmware area successfully.

Video instruction of How to Repair and Recover Seagate SED HDDs

 
Any question is welcome to [email protected] or add Dolphin Skype ID: dolphin.data.lab

More and more data recovery engineers are using Dolphin DVR data recovery software to recover their lost valuable videos.

For some new users, they may meet one issue: when users are trying to open the CCTV/DVR data recovery module, digital camera recovery module, video recorder recovery module and video repair module, only CCTV DVR recovery module works but other modules keep silent and doesn’t respond. This issue is caused by the lack of software running environment below:

X64-VS2015-running-environment.zip
X64-VS2017-running-environment.zip

Users just need to download above files and install them on computers and then Dolphin DVR users can use all software modules successfully.

Any question is welcome to [email protected] or add Dolphin Skype ID: dolphin.data.lab

This is one successful Western Digital hard drive data recovery case study from one DFL user in Canada.

The patient HDD ID:

Model number: WD10EZRX-00A3KB0
Family:Trailxlb
Capacity: 1TB

Failure Symptom:
Undetected hdd;
Spin up and down

Hdd repair tool and data recovery tools used in this case study:
DFL-WD hdd repair tool
DFL-DDP data recovery equipment

hdd repair and data recovery steps:

01: Short to enter DFL-WD hdd repair software;
02: Backup rom and disable 02;
03: Firmware restart and re-enter the software;
04: Backup important firmware modules;
05: Fix slow issue;
06: Fix spin up and down issue;
07: Enable 02;
08: Firmware restart;
09: Enter DFL-DDP data recovery software and all the lost partitions and folders were recovered.

Any question is welcome to [email protected] or add Dolphin Skype ID: dolphin.data.lab
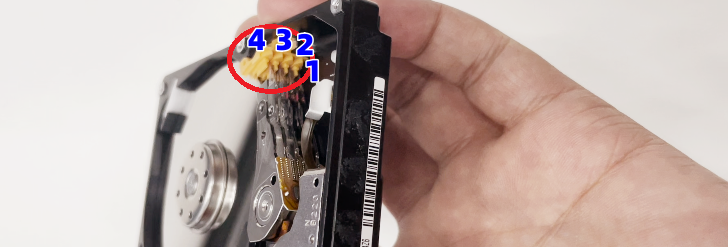
This is one successful Seagate hdd data recovery case study.The patient HDD was detected but the data area was not accessible.

ST500LT012 1SDM1 Data Encryption Data Recovery Steps Youtube Video

Patient HDD ID:
Model number-ST500LT012-1DG142
Family: Yarra_5400(75)
Capacity: 500GB
Firmware: 0001SDM1

With DFL Seagate hdd firmware repair tool, users can easily access to the firmware area, backup the rom and important firmware modules.

When trying to access the data area, all sectors were colored as purple and this meant the data area was encrypted.

The user tried some traditional methods and steps to repair the encryption issue but failed.

Next Dolphin engineer tried one unique firmware repair solution within DFL Seagate hdd repair tool-Remove Password 2(different from the standard password removal function).

Next the engineer powered off and on the patient drive, the data area was fully accessible.

Any question is welcome to [email protected] or add Dolphin Skype ID: dolphin.data.lab
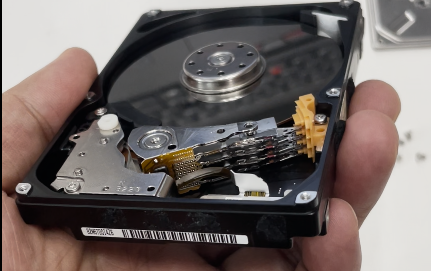
This is one successful data recovery case study of Seagate ST10000NM0016 patient hard drive for one Dolphin user in Austria.

Drive Identification
Model: ST10000NM0016
Family: Tatsu (97)
Firmware: SND0
Capacity: 10TB

To fix the firmware corruption, users need to do the following:

01: Connect patient hdd to DFL Seagate hdd repair hardware and connect COM cable correctly;
02: Backup original rom;
03: Generate unlock rom by mode 2;
04: Write unlock rom, power off and on and send unlock key;
05: Backup nglist, SYS1B, 28, 93, 346, etc;
06: view V40 to find out the returned entries, clear glist and then regenerate translator.

For some data encryption cases, users need to use some other functions within DFL Seagate hdd repair tool.

Any question is welcome to [email protected] or add Dolphin Skype ID: dolphin.data.lab

This is one Seagate ST2000LM009 hard drive capacity 0 firmware repair and data recovery case study.

This patient drive was not properly detected and the capacity was 0 and no data is accessible and there’re no typical com terminal messages of head damage.

To fix the capacity 0 firmware issue, users need to fix the translator corruption.

Before translator repair, users need to backup the rom, generate unlock rom, write unlock rom, power off and on, send unlock key to unlock the firmware area and next users need to back up the most important nglist.

Next users need to clear glist and regenerate translator. If com terminal repair doesn’t work, users can regenerate translator in ATA mode.

Next users need to fix the data encryption issue by DFL-Seagate hdd repair tool.

Any question is welcome to [email protected] or add Dolphin Skype ID: dolphin.data.lab

Users have different options to read and write ROM from Seagate and Western Digital hard drives.

For many hdds, users can use firmware repair tools to read and write ROM directly.

For some new hdds, firmware repair tools don’t support to read or write ROM due to SED lock, MCU lock or other PCB issue or ROM chip issue. At this situation, users can only use flash programmer to read and write rom from the ROM chips.

For traditional flash programmers, users need to solder the ROM chips off and put the ROM chip to the chip holder to read and write rom.

Not all engineers have good soldering skills and Dolphin team offered Chip-on HDD Flash Programmer Smart, users just need to remove the PCB and then users can use the pin reader to read and write rom without soldering the rom chips off.

Now users don’t need to remove PCB, don’t need to solder the ROM chips off, users just need to install the HDD ROM programming clip adapter to the HDD and then users can use Chip-on HDD Flash Programmer Smart and its software to read and write ROM easily.

Users can read details of HDD ROM programming clip adapters here.

Any question is welcome to [email protected] or add Dolphin Skype ID: dolphin.data.lab

Seagate hard drive translator regeneration is one very important firmware repair function within all Seagate firmware repair tool.

There’re two modes for Seagate hdd translator regeneration:
01: Translator regeneration in ATA mode;
02: Translator regeneration in COM mode.

Within COM terminal, users need to enter F3 T> to use m0,6,3,,,,,22 command to regenerate translator. But please note: users need to think carefully before using the command. Users need to clear g-list, need to reset smart, need to check the HDD failure symptoms, need to backup important firmware modules, etc.

In some cases, translator regeneration may cause partial sector access issue or data shifting issue and in many cases, users don’t need translator regeneration to fix the cases and recover the lost data. So don’t always use the translator regeneration command.

In some heads read-only cases, users need to use translator regeneration in ATA mode and access to the data area.

Within DFL Seagate hdd firmware repair tool, users can easily use the ATA translator regeneration under defects management and this one is very helpful.

Video instruction to use translator regeneration in ATA mode:
Seagate LM Rosewood Heads Read only Firmware Repair and Data Recovery

Any question is welcome to [email protected] or add Dolphin Skype ID: dolphin.data.lab